Quick Start
Get from zero to your first AI conversation in a few minutes.
1. Create your account
- Self-hosted
- Cloud
If CubePlex isn't installed yet, see the Deployment guide first.
- Open the CubePlex URL your administrator provided.
- Register with your email and password. If email verification is enabled, enter the one-time code sent to your inbox.
- If you are the first user, the onboarding wizard has you name the organization, choose a slug, and create your first workspace. You become the organization's owner.
- Otherwise you join the existing organization as a member and create your own personal workspace through the same wizard.
CubePlex Cloud is coming soon. Until it is available, install CubePlex self-hosted and create your account there (see the Self-hosted tab).
2. Select a model
Before chatting, make sure at least one AI model is available.
- Org owners/admins: Open the Admin area and go to Models > Model Providers. Add a provider (e.g., Anthropic, OpenAI) with your API key, then enable the models you want your team to use.
- Members: You will see whichever models your admin has enabled. No setup needed.
3. Start a conversation
- Click New conversation (or press the keyboard shortcut shown in the sidebar).
- Pick a model from the model selector at the top of the chat input.
- Type a message and press Send.
The agent responds with text, and may also produce tool calls, code execution results, or artifacts depending on the model and available tools.
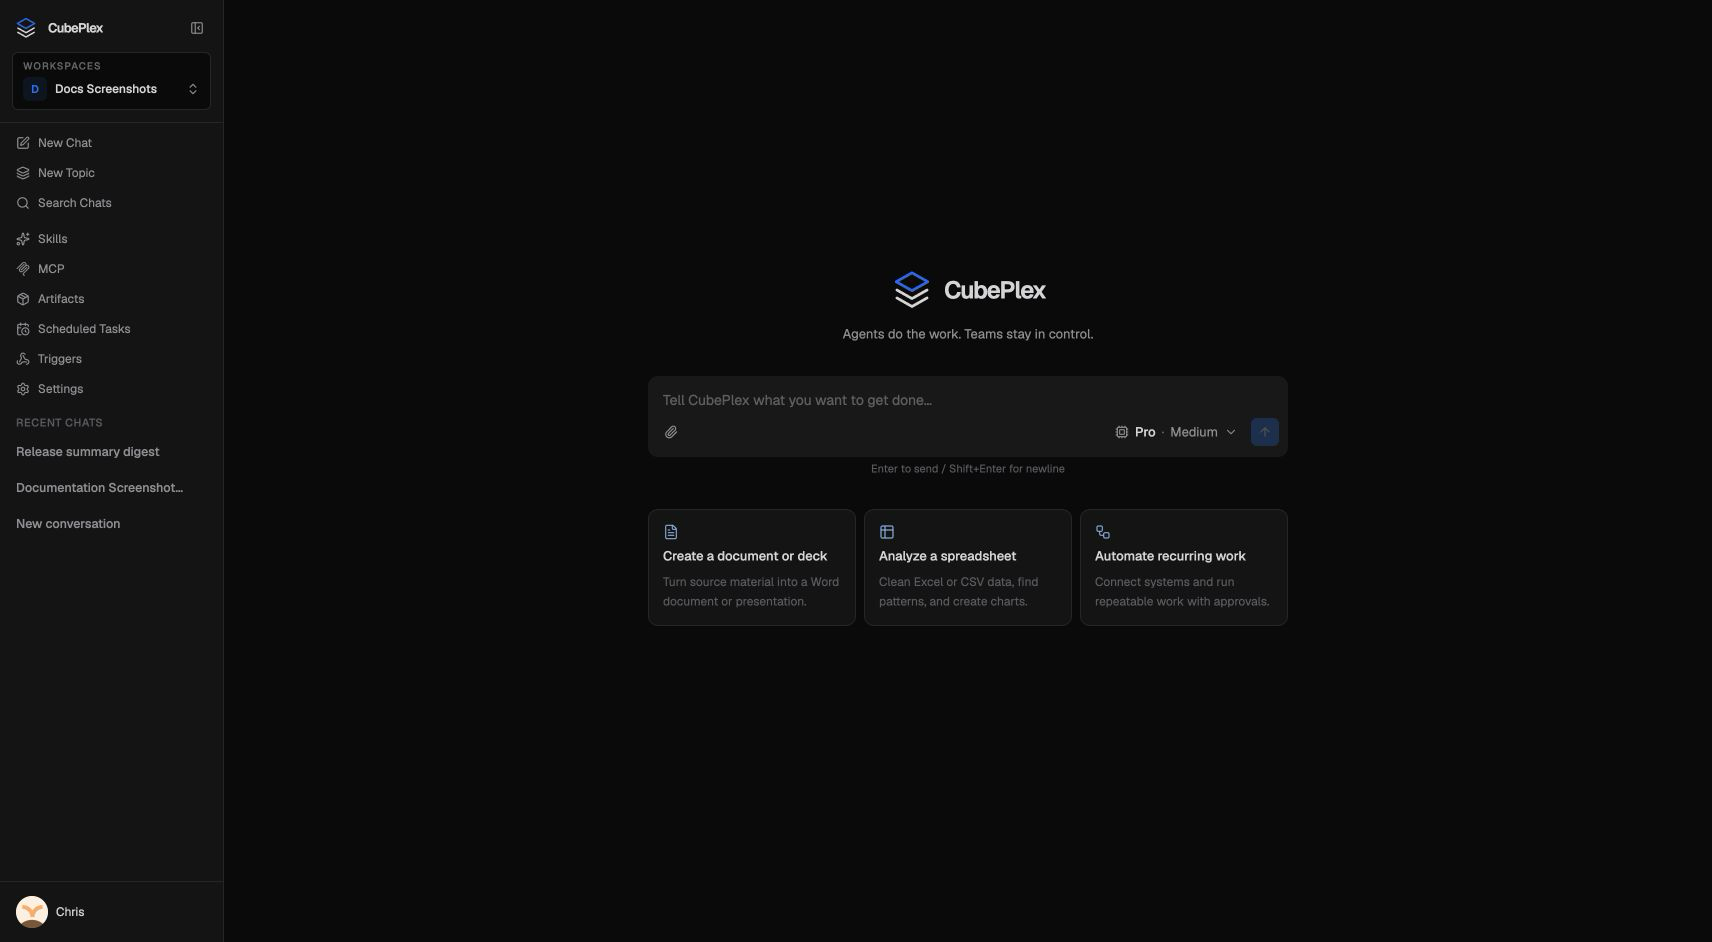
Try attaching a file
Click the attachment icon in the chat input to upload a document, image, or code file. The agent will incorporate the file content into its response.
Try an artifact
Ask the agent to create something concrete — for example:
Write a Python script that converts CSV to JSON.
If the agent generates a deliverable, it appears as an artifact. When you are viewing that conversation, the preview panel opens automatically after the artifact is saved so you can inspect it immediately. You can also open any artifact from its card in the chat.
4. Explore further
You now have a working CubePlex setup. Here is where to go next:
- Core Concepts — Understand conversations, skills, memory, MCP tools, and automation.
- Workspace Setup — Invite team members and configure workspace settings.
- Conversations guide — Deep dive into chat features.
- Skills guide — Install skills to extend your agent.